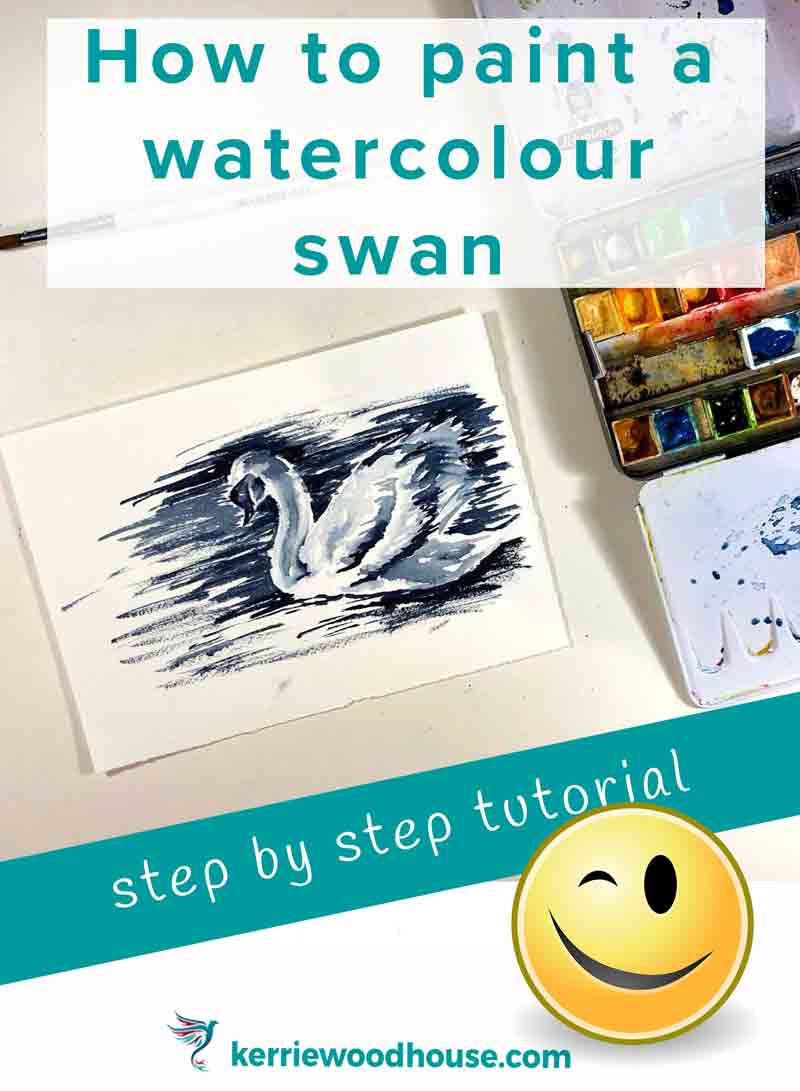
How to use tonal values in painting a watercolor swan - step by step tutorial
This step by step tutorial will have you using tonal values in painting a watercolour swan in less than an hour. It is a quick fun project that is also tremendously helpful in building the skills you need in your painting arsenal.
Let’s begin!
By the way, I have a time lapse video of this whole painting which you can watch by scrolling down to the end of this post.
Step 1: Choose an image
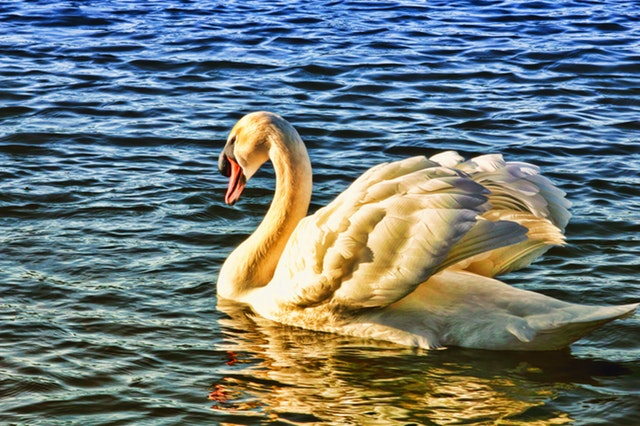
Choose an image with a strong light source so that you have a good contrast of darks and lights to work with.
I chose this one
Step 2: Find the tonal values you need for your painting
The easiest way to see the tonal values you will need for your painting is to convert the image to black and white. I used a free app called Snapseed to do this.
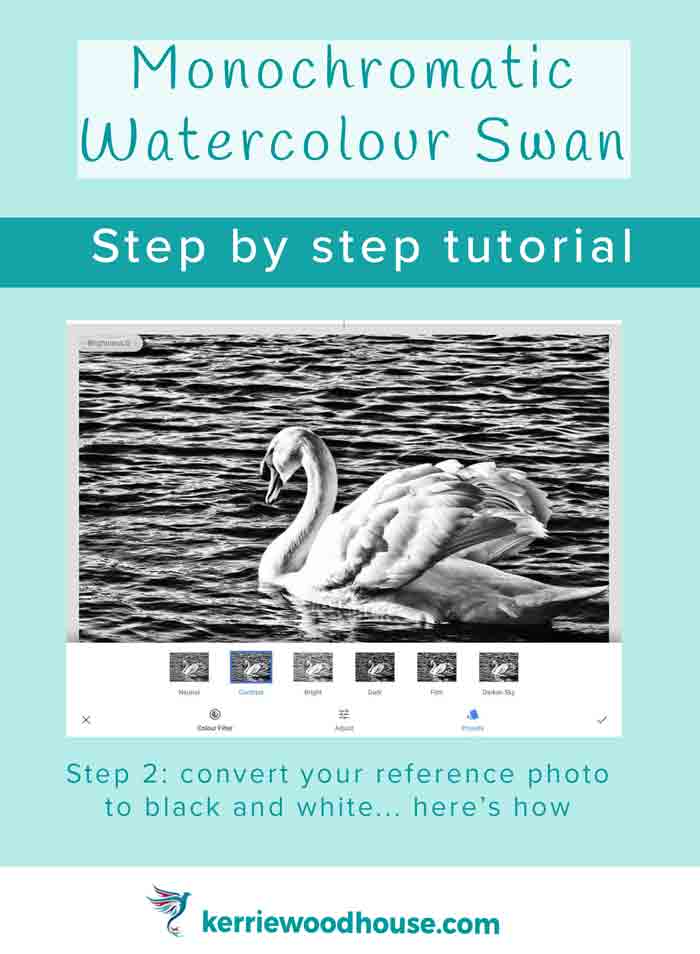
The best way to see the values clearly is to half close your eyes. When you look through squinted eyes like this the amount of information that your eyeball can take in is limited. You lose the colour and see only the important darks and lights. Even with your black and white image you might still find this helpful.
And if you skip this black and white stage it is definitely possible to complete the painting just using this squinting technique to find the darks and lights. But you have the technology to make your life easier…just saying…
Step 3: Draw a basic outline
Let’s draw out the outline of the subject, in our case, the swan. If you are confident with drawing you can draw directly on your watercolour paper (I recommend 300gsm cold press paper, by the way).
There are many who shudder in horror at my cavalier approach to sketching directly and erasing on the watercolour paper because they believe it can damage the paper and ruin your final painting. I sketch lightly and erase gently so I have personally never found this to be a problem. You decide what your choice will be.

If you are not confident at drawing or are unwilling to risk damaging your watercolour paper then you can of course complete your sketch on another piece of drawing paper and transfer it by some sort of tracing method.
Whichever approach you take, I would avoid adding a lot of detail at the this stage. I try to get the main outline in and then any important internal lines eg the front wing to separate it from the body and the back wing.
You may wish to add a soft line for any important shadows, although I encourage you to trust yourself with your paintbrush and know that you will be able to add these shapes with paint. You need those guidelines less than you think - I promise. Also any line you put down and then cover with paint will not be able to be erased. If you are using a light wash to put in a pale shadow, your line might be visible through the paint which may not be what you are going for. (It is your painting, of course - if visible linework is your thing, then go right ahead!)
At this point I like to use my kneaded eraser to dab all over my drawing just to lighten it all up because it is my preference not to have any visible lines. I aim to leave only a faint guideline for myself that will be easily covered by the paint.
Step 4: Choose a colour for your tonal value painting
Choose a colour - I recommend a dark colour. I went for indigo. But any deep shade will do.
The reason you need a dark colour is that you can add water to make the watercolour paint paler but the intense pigment as it is, will be the darkest you will be able to go in your painting.
You already have the white of the paper for the lightest highlights. If you choose your darkest paint you give yourself the most scope between dark and light to add different tones.
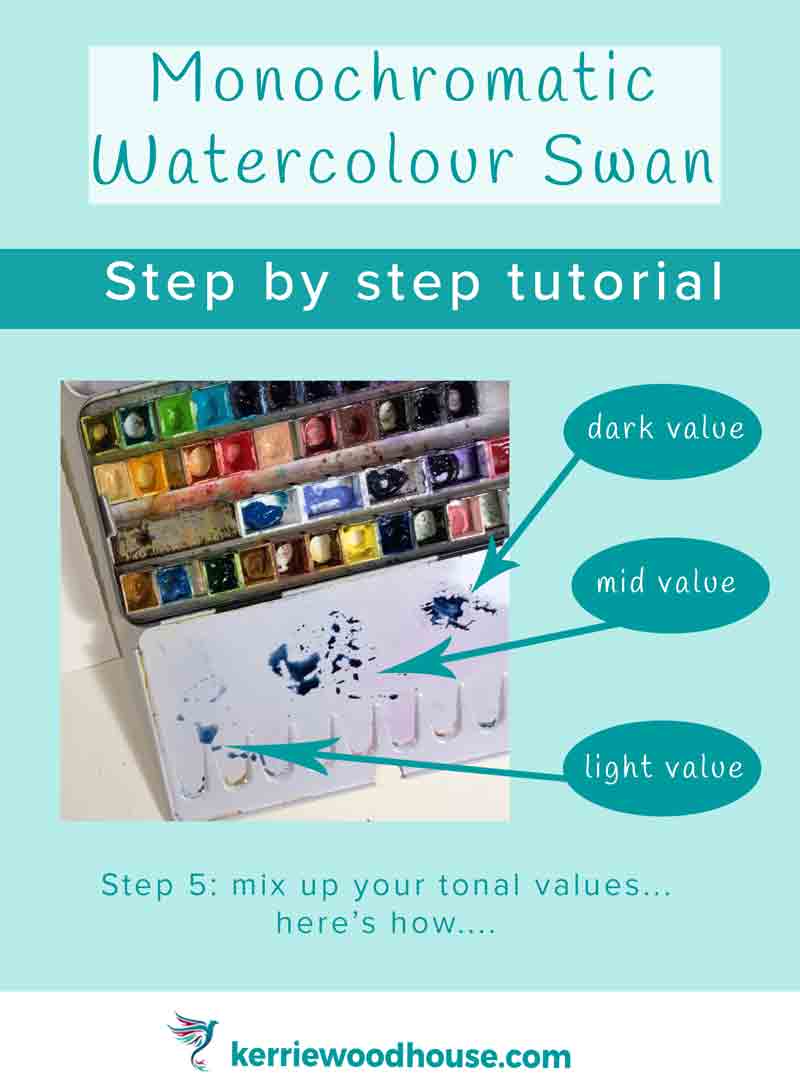
Step 5: Mix up your tonal values
On a palette, mix up a puddle of your intense dark colour - mostly pigment hardly any water.
Then take some of that pigment and start a second puddle adding more water to it to make it paler.
Repeat with a third puddle and you will now have 3 strengths of paint and therefore 3 values to work with plus your white paper.
Of course it is possible to create many many subtle tonal variations in this way but I recommend keeping it simple - 2 or 3 is enough to be working with.
Step 6: Add your tonal values to your painting
With watercolour the tendency is usually to work from light to dark. Since adding extra layers will deepen your colour, you will usually be able to make an area a bit darker but will find it much harder to make an area lighter. So you can of course begin with your lightest values and build up.
However, my approach is usually to go in boldly with a dark to get some sense of shape pretty instantly. I like to see the two extremes first and then add middle tones. The extremes are easier to see, so I find that starting with the darks means I am getting a bit better as spotting more subtle values by the end of the painting.

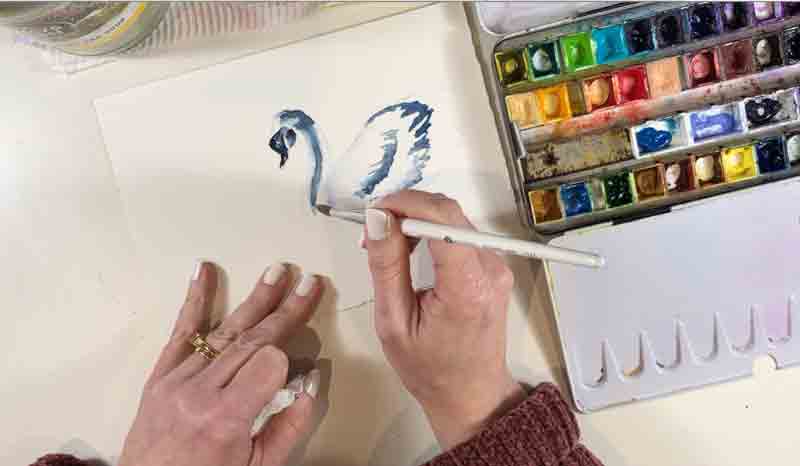
I like to begin boldly, with a few of the dark values…
Once you have painted like this for a bit you will soon find what suits you.
I like to find the dark darks in the swan and pop in my concentrated paint in the shapes I see in the photograph. Then you can rinse off the brush in your dirty water jar, give it a quick swish in the clean water jar (yes, I recommend panting with two water jars to hand, but again, the choice is yours).
Dab the clean brush off on a towel or piece of kitchen paper. Use the damp brush to soften off the edges of the dark shapes so that you remove any hard lines you don’t want.
You can also use a slightly damp brush to pull some of the dark paint out of your shape like I did on the neck of the swan. It is this strong shadow down the neck that tells us that the neck is cylindrical.
Pull some of the damp paint down into the mid tone areas. Here, this is a very important dark area that tells us about the cylindrical shape of the swan’s neck .
Step 7: Use the negative painting technique in your tonal painting
Because the swan is white we cant really paint the edge of it. What we are really doing is painting the outline of the swan negatively by painting the water.
Negative painting technique
Negative painting means painting what surrounds the subject, but not the subject itself, ie paint the subject’s negative.
One of the areas of greatest contrast is the bottom of the swan sitting against the surface of the water. Once we paint in the dark line of the water the edge of the swan becomes obvious even though we painted the water, not the swan.

Step 8 : Use the dry brush technique in your tonal painting
When you paint water you want to leave the odd bit of exposed paper to be the sparkle in the water. The easiest way to do this is with a dry brush technique.
Dry brush technique
Use a strong concentration of pigment on the brush. Before picking up the paint, clean your brush and dab it off on your kitchen towel to make sure that you don’t end up inadvertently diluting the paint.
So while we call this the dry brush technique it is obviously not completely dry, but using the least amount of water possible. The paper also needs to be dry to achieve this effect.
Make a confident quick swipe across your cold press paper with your loaded brush. The paint will catch on the raised parts of the textured paper but not be fluid enough to run into the dimpled parts. These will remain white and be your sparkles.

Step 9: Consider the edges in your tonal painting
Work in sections around the outside of the swan. It is not necessary to completely outline the swan. If you look at the photo you will see that where the whitest parts of the bird sit against the whitest parts of the water the edges will merge. We call these lost edges and they are very beautiful parts of the image, so don’t be afraid of them.

You also don’t need to stick exactly to the photo. You may want to move the highlights and darks in the water around to better serve your painting. If you have an important edge, like the left hand edge at the base of the neck that you don’t want to be a lost edge then you will need to place dark water against it. Looking for opportunities to place your lightest lights against your darkest darks is a useful approach to follow.
Step 10: Check your darkest darks in your tonal value painting
I tend to put in most of the darks so that the image starts to take shape and then add in the lighter tones. You of course, might be working in a different order. It’s all good.
For me, it is usually when I have the whole bird established that I will start to put in some mid tones to give shape to the body. This might be a good time to go a bit lighter if you are not sure, because you can darken these areas if you need to, but lightening them will be difficult.
For example, I used my lightest tones to add the shadow cast by the wing over the back of the bird towards the tail.

I used the lightest value to begin adding the shadow cast by the wing over the back of the swan’s body.
Then I can drop in a bit of stronger (darker) pigment into the little spot where the swan’s tail starts to lift slightly. The original pale shadow is still damp so the edges will soften naturally. It is not too damp and the darker pigment is more concentrated so the dark spot will not spread completely to the edge of the original shadow.
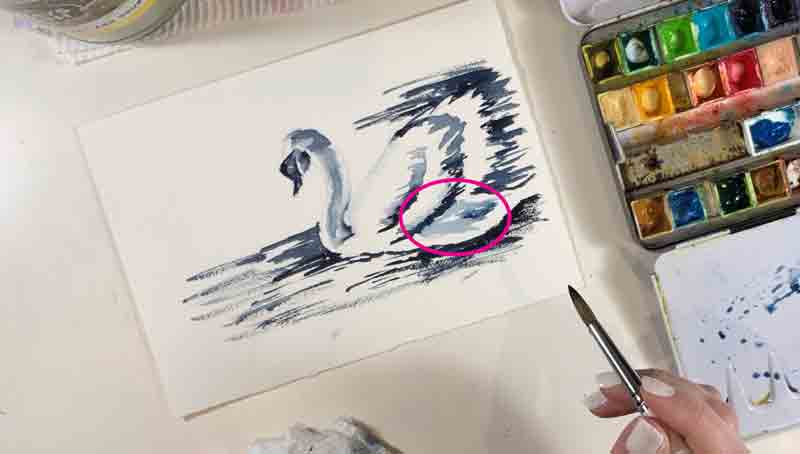
With the first light value shadow still damp I can drop a bit of more intense (less dilute) pigment into the extra dark area I can see in m reference photo.
Continue adding lighter tones in areas to indicate the contours of the wings. You can also darken some areas that you already painted if necessary to get the relative values that you want.
You are finished when you are happy that you see a swan in the water. Resist the temptation to fiddle too much. If you think you might be done, you probably are.
Notice how little white paper is left and yet, you still have a clearly white swan. Pretty amazing, right?
What are the benefits of tonal (monochromatic) painting?
i am hoping that by now you are agreeing with me that this is indeed a quick fun project. But are you still wondering about the benefits of creating a tonal painting?
One of the things beginner painters sometimes find hard to believe is that colour is less important than value. Until you think about black and white photographs. We can distinguish the subjects in the photographs without colour with no problems. What is key for our eyes and brains is to find the shapes and patterns of darks and lights. That is all we really need.
Colour is fun.
Colour is exciting.
But colour can also be distracting for a painter.
It does involve a whole lot of other choices. If we eliminate those and focus on what matters - value - it becomes a lot easier to create a recognisable subject. When you introduce colours into your next painting I am sure you will find that you make a stronger painting because you are better at seeing your values.
Want to see my whole painting start to finish?
Luckily I caught it all on video. It was one of my paintings for World Watercolour Month 2019.
Looking for some more help on your painting journey?


Keep on reading…